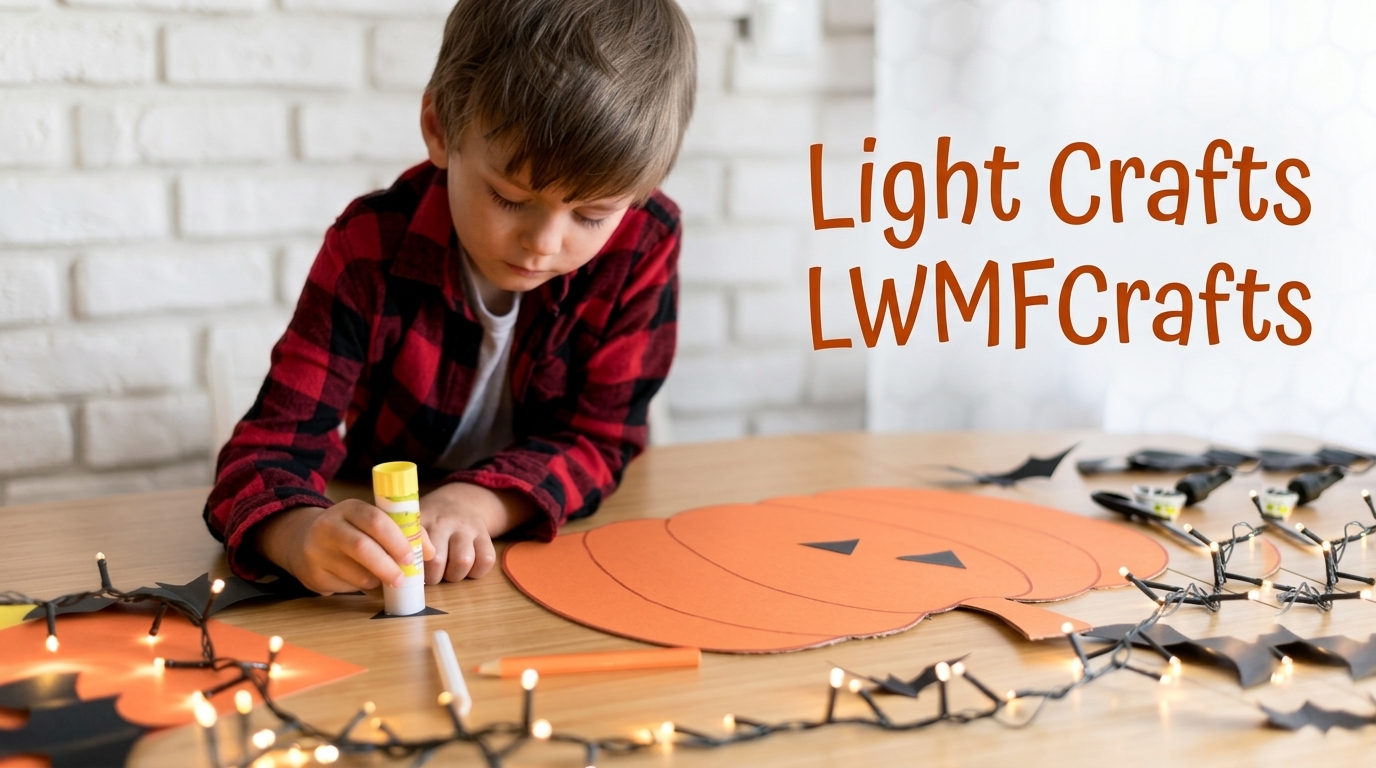
Light crafts are DIY projects that combine ordinary craft materials with safe light sources such as battery-operated LED tea lights, fairy lights, or glow sticks. Popular examples include glowing jars, paper lanterns, decorated night lights, and light-up recycled crafts — most take under 30 minutes and use supplies families already have at home.
Light crafts have become a favorite of the LWMFCrafts approach to family crafting: simple materials, low cost, and a payoff that feels magical to kids the moment the lights go on. The glow turns an ordinary afternoon project into something children want to keep on their nightstand — and want to make again.
Quick Reference — Light Crafts at a Glance
| Craft | Light Source | Age | Time | Materials |
| Glowing jar | LED tea light | 3+ (adult places light) | 15 min | Clean jar, tissue paper, glue |
| Paper lantern | LED tea light | 5+ (supervised cutting) | 20–30 min | Colored paper, scissors, glue |
| Light-up drawing | Battery fairy lights | 6+ | 30 min | Card stock, crayons, tape, string lights |
| Recycled lantern | LED tea light | 4+ | 20 min | Yogurt pot or paper bag, tissue paper |
| Glow-in-the-dark jar | Glow paint or stickers | 3+ | 15 min + charging | Mason jar, glow-in-the-dark paint |
| Salt dough tea light holder | LED tea light | 4+ | 45 min + drying | Flour, salt, water, paint |
Use this table to pick a project in under a minute. If you only have a jar and an LED tea light, start with the glowing jar — it is the fastest win in this guide.
What Are Light Crafts? (And Why Kids Love Them)
Light crafts are any project where a safe light source becomes part of the finished piece. The light does the decorating work for you: a plain jar transforms into a lantern the second the LED switches on. That instant transformation is why children stay engaged — the craft has a built-in reveal.
It helps to think of light crafts in four families, because the light source you choose shapes the whole project:
- LED tea lights — small, cool to the touch, and the workhorse of kids’ lantern crafts
- Battery fairy or string lights — best for spreading light across a bigger scene, like a cardboard night sky
- Glow sticks and glow-in-the-dark paint — no batteries at all; they charge from light and glow on their own
- Flashlights — already in your house, ideal for shadow and projection crafts
The projects below stay deliberately imperfect on purpose. The goal is the making, the glow, and the time together — not a Pinterest-perfect shelf piece.
Safety First — LED, Batteries and Small Parts
Light crafts are among the safest kids’ crafts you can do, but only because they remove the obvious hazard. The remaining risks are quieter, and worth knowing before you start.
Why LED Tea Lights Beat Real Candles
LED tea lights stay cool to the touch, contain no flame, and cost very little in multipacks. They make lantern crafts possible for children who could never sit next to a real candle. Make it a house rule: LED lights only, no exceptions — even “just for a minute.” Real flames and paper decorations do not mix, and eliminating the debate removes the temptation entirely.
Button Batteries and Small Parts — Age Rules That Matter
The real hazard in light crafts is the coin-cell battery inside an LED tea light. These batteries are dangerous if swallowed, and tea light bases often slide open with a fingernail. For any child under about four — or any child likely to mouth objects — treat the light itself as an adult-handled item and secure the compartment with a strip of tape.
| Light Source | Heat Risk | Battery Risk | Minimum Age (with help) | Verdict for Kids’ Crafts |
| LED tea light | None (stays cool) | Yes — coin cell; tape compartments shut | 3+ | Best all-round choice |
| Battery fairy lights | Very low | Low — sealed battery pack | 6+ | Great for scenes and big projects |
| Glow sticks / glow paint | None | None | 3+ | Safest option; no electricity |
| Real candle | High | None | Adults only | Never for children’s crafts |
Three more rules worth posting on the fridge: keep glue guns and anything plugged in at an adult station; keep all light-craft projects away from water and the bathtub; and check battery compartments after crafting so nothing ends up loose in a toy bin.
Materials You Need (and What to Substitute)
Almost nothing here requires a craft-store trip. The standard kit is jars, paper, glue, and LED tea lights — everything else is optional.
| Material | Used For | Easy Substitute | Notes |
| Clean glass jar | Lantern bodies | Plastic container, mason jar | Remove all labels; plastic is safer for young kids |
| Tissue paper | Glowing “stained glass” | Wax paper, tracing paper | Translucent materials let the light shine through |
| White school glue | Attaching paper | Glue stick, Mod Podge | Thin layers dry clearer |
| Colored paper | Lanterns, cutouts | Cereal-box cardboard | Cardboard holds shapes better |
| LED tea lights | All lantern crafts | Battery fairy lights (taped down) | Buy multipacks; tape the base shut |
| Tape | Securing lights and seams | Sticky tack | Also the fastest way to mount fairy lights |
| Glow-in-the-dark paint | No-battery glow jars | Glow stickers, glow bracelets cut open | Needs a charge from bright light to glow well |
| String or wire | Hanging handles | Pipe cleaners | Pipe cleaners are easier for small hands |
One design principle prevents most disappointment: light passes through translucent materials, not opaque ones. Tissue paper, wax paper, and thin vellum glow beautifully. Thick construction paper blocks the light and leaves you with a decorated box instead of a lantern.
Easy Light Crafts for Kids — Step-by-Step Projects
Each project below lists its own materials in the table above. Ages assume an adult is nearby; the “make it easier / make it harder” line adapts each one to your child.
Glowing Jar Lantern (15 minutes, age 3+)
- Wash and dry a jar completely, then remove every trace of the label.
- Tear tissue paper into small pieces — tearing is easier and looks better than cutting.
- Cover a section of the jar with glue, press tissue paper onto it, and add a thin layer of glue over the top.
- Keep layering until the jar is covered, then let it dry fully.
- The adult drops in an LED tea light, tapes the base shut, and switches it on in a dark room.
Make it easier: stick pre-cut foam shapes instead of paper. Make it harder: cut shapes from the tissue paper and build a deliberate picture — a night sky, a tree, a dinosaur.
Paper Bag or Tissue Paper Lantern (20–30 minutes, age 5+)
- Open a paper lunch bag and flatten the bottom so it stands.
- Cut shapes from colored paper — stars, hearts, bats, fish — or use pre-cut confetti.
- Glue the shapes onto the bag on all four sides.
- If the bag is flimsy, roll a sheet of card into a cuff inside the top to hold it open.
- Place an LED tea light at the bottom, taped in place, and glow.
Make it easier: use stickers instead of cutouts. Make it harder: punch a row of holes around the top and thread a pipe cleaner handle so it becomes a carrying lantern.
Light-Up Drawing (30 minutes, age 6+)
- Draw a nighttime scene on card stock — a city skyline, a rocket, an underwater world.
- Mark the spots where light should appear: windows, stars, portholes, jellyfish.
- Poke small holes through those spots with a sharpened pencil.
- Tape a short strand of battery fairy lights behind the card, with a bulb behind each hole.
- Turn the lights on and watch the drawing switch on.
Make it easier: an adult pre-pokes the holes and the child draws. Make it harder: make the lights blink in a pattern, or build the scene on a box so it stands like a diorama.
Recycled Light-Up Crafts (20 minutes, age 4+)
Yogurt pots, paper bags, and cereal boxes make excellent lantern bodies. A yogurt pot becomes a glowing character — paint it, add paper ears or fins, and drop in an LED tea light. A cereal box becomes a tiny glowing house: cut windows and doors first, decorate the outside, then light the inside with a tea light. The best part for parents is the cost: the entire craft runs on items headed for the recycling bin anyway.
Make it easier: decorate the pot with stickers only. Make it harder: build a whole cardboard village and connect the houses with a single strand of fairy lights.
Glow-in-the-Dark Jar (15 minutes plus charging, age 3+)
- Squeeze dots of glow-in-the-dark paint onto the inside walls of a clean jar.
- Let it dry completely — most paints need an hour or more.
- Charge the jar under a bright lamp or in daylight for a few minutes.
- Turn off the lights and see it glow.
This one trades instant results for wonder later: the glow fades over an hour or so and recharges whenever the lights come back on. Make it easier: use glow stickers on the outside instead of paint. Make it harder: paint a pattern — constellations are a favorite — and see if siblings can name it in the dark.
Light Crafts by Age Group
The fastest way to spoil craft time is picking a project that fights the child’s abilities. Match the job to the hands:
| Age | Can Do Alone | Can Do With Help | Never Unsupervised |
| 2–3 years | Stick stickers, tear tissue paper, choose colors | Gluing, placing items on the jar | Handle any light or battery |
| 4–5 years | Glue pieces, paint, decorate shapes | Cutting, fitting lantern tops | Open or hold LED tea light bases |
| 6–8 years | Cut, plan a design, assemble a lantern | Poking holes, taping fairy lights | Use a hot glue gun |
| 9–12 years | Complete any project start to finish | Troubleshooting, circuit-style light-up cards | Modify batteries or wiring |
Two habits keep group crafting calm. First, pre-cut the fiddly parts for younger kids and let them own the decorating. Second, give older children the design decisions — which shapes, what pattern, where the lights go — so the craft never feels babyish to them.
Glow-in-the-Dark Crafts vs LED Crafts — Which to Choose?
Both families produce the glow kids want, but they behave completely differently, and choosing wrong means a disappointing night.
| Feature | LED Crafts | Glow-in-the-Dark Crafts |
| When it glows | Instantly, on demand, anytime | Only after charging in light; fades within hours |
| Batteries needed | Yes (coin cells or AA) | None |
| Ongoing cost | Occasional battery swaps | Essentially zero |
| Best projects | Night lights, lanterns, reading nooks | Party favors, ceiling stars, no-battery decorations |
| Kid appeal factor | The switch — turning it on feels like magic | The surprise — discovering it glows in the dark |
The decision rule is simple: choose LED when the craft needs to work every night, such as a night light; choose glow-in-the-dark when you want zero batteries or a one-night surprise. Glow paint and stickers make a wonderful bedroom ceiling, but an LED lantern is what a child will actually reach for at bedtime, every night.
Light Crafts for Classrooms, Parties and Rainy Days
Light crafts scale well to groups if you simplify smartly. For a classroom, the winning formula is a paper-bag lantern line: every child decorates one bag, the teacher handles the LED lights, and the finished row becomes a window display the whole class is proud of. For a glow-themed birthday party, glow-in-the-dark jars double as party favors — made during the party, charged at the end, and taken home as the treat.
Rainy-day crafting rewards the shortest projects on the list. A glowing jar or a sticker-decorated lantern fits into twenty minutes between lunch and dinner, and the reveal in a darkened room resets an antsy afternoon like nothing else. Buying LED tea lights in multipacks keeps the cost per child low, which matters when you are crafting with a crowd rather than one child.
Common Mistakes With Light Crafts (and Easy Fixes)
| Mistake | Why It Fails | The Fix |
| Using thick, opaque paper | Light cannot pass through, so the lantern never glows | Use tissue paper, wax paper, or vellum |
| Layering too much glue or paint | It dries cloudy and blocks the light | Thin, even layers; more layers only after drying |
| Leaving battery compartments open | Coin cells pop out and get lost — or worse, found by a toddler | Tape every compartment shut after inserting the light |
| Skipping the label removal on jars | Leftover glue catches the light and looks messy | Soak labels off before crafting, or use plastic containers |
| Choosing a craft too advanced for the age | Child loses interest halfway and the project dies | Check the age table first; pre-cut for younger kids |
| Testing in a bright room | The glow barely registers and kids feel let down | Save the reveal for a darkened room — it changes everything |
That last row is worth its own line: the dark-room reveal is the craft. Plan it. Draw the curtains, count down from three, and let the lights come on. It costs nothing and turns a decent afternoon into the thing your child retells at dinner.
Turning Light Crafts Into Learning Moments
You do not need a lesson plan to make craft time educational — three well-timed questions do most of the work. While making lanterns, ask: “Which materials let the light through, and which block it?” You have just taught transparent, translucent and opaque with a jar and some tissue paper. While decorating, ask: “What pattern should we make — and what comes next in it?” Patterning is quiet early-math practice. With older kids, dim the room and ask: “What happens to the shadow when the light moves closer?” Now you are exploring light and shadow with a flashlight and an afternoon to spare.
Keep it playful and stop before it feels like school. The questions land because they come in the middle of making something, not before it.
Frequently Asked Questions
What are light crafts for kids?
Light crafts are DIY projects that combine regular craft materials with safe light sources like LED tea lights, fairy lights, or glow-in-the-dark paint. Glowing jars, paper lanterns, and light-up drawings are the most popular examples, and most take under 30 minutes.
Are LED tea lights safe for children’s crafts?
Yes — LED tea lights stay cool to the touch and contain no flame, which makes them far safer than real candles for kids’ projects. The one genuine risk is the coin-cell battery inside, so tape the compartment shut and keep loose batteries away from young children entirely.
What light crafts can a 3-year-old make?
Toddlers do best with sticker-and-tear projects: a glowing jar decorated with tissue paper and stickers, or a glow-sticker jar with no batteries at all. An adult should handle the light itself, and anything with small parts should stay off the table.
How do you make a glowing jar lantern?
Cover a clean jar with small pieces of tissue paper attached with white glue, let it dry fully, then drop in an LED tea light and tape the base shut. Switch it on in a dark room for the reveal. The whole project takes about 15 minutes.
What can I use instead of candles in kids’ lanterns?
Battery-operated LED tea lights are the standard substitute, and they are safer, reusable, and cheaper over time. Battery fairy lights work for larger projects, and glow-in-the-dark paint or stickers are the no-battery option when you want zero electronics.
How do glow-in-the-dark crafts work?
Glow-in-the-dark paint and plastic contain material that absorbs energy from bright light and slowly releases it as a soft glow. Charge the craft under a lamp or in daylight for a few minutes, then take it somewhere dark — the glow lasts roughly an hour before it needs recharging.
How long do LED tea light batteries last in a craft?
A typical LED tea light runs for dozens of hours on its coin-cell battery, and most multipacks include spares. For crafts used daily as night lights, keep spare batteries on hand; for occasional projects, one battery often lasts the life of the craft.
What light crafts work for a classroom or party?
Paper-bag lanterns scale best to groups: each child decorates one bag, one adult manages the LED lights, and the finished line makes a shared display. Glow-in-the-dark jars also work well as party favors — charge them at the end of the party so they glow on the way home.
Final Glow
One jar, one LED tea light, and fifteen minutes is the whole setup cost for a first light craft — everything else probably came from your recycling bin anyway. Pick the project that matches your child’s age from the table above, save the reveal for a darkened room, and let the glow do the rest. That is the spirit of light crafts at LWMFCrafts: ordinary supplies, a little imagination, and a family evening that shines a little brighter than screen time.
Click here for more details.